
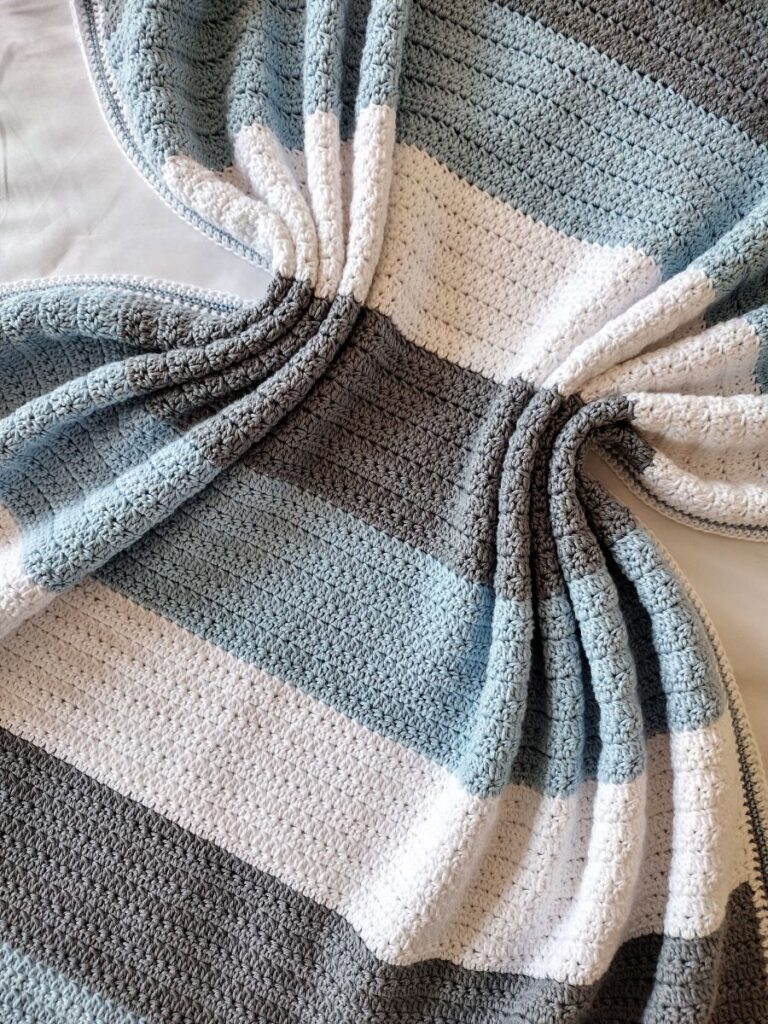
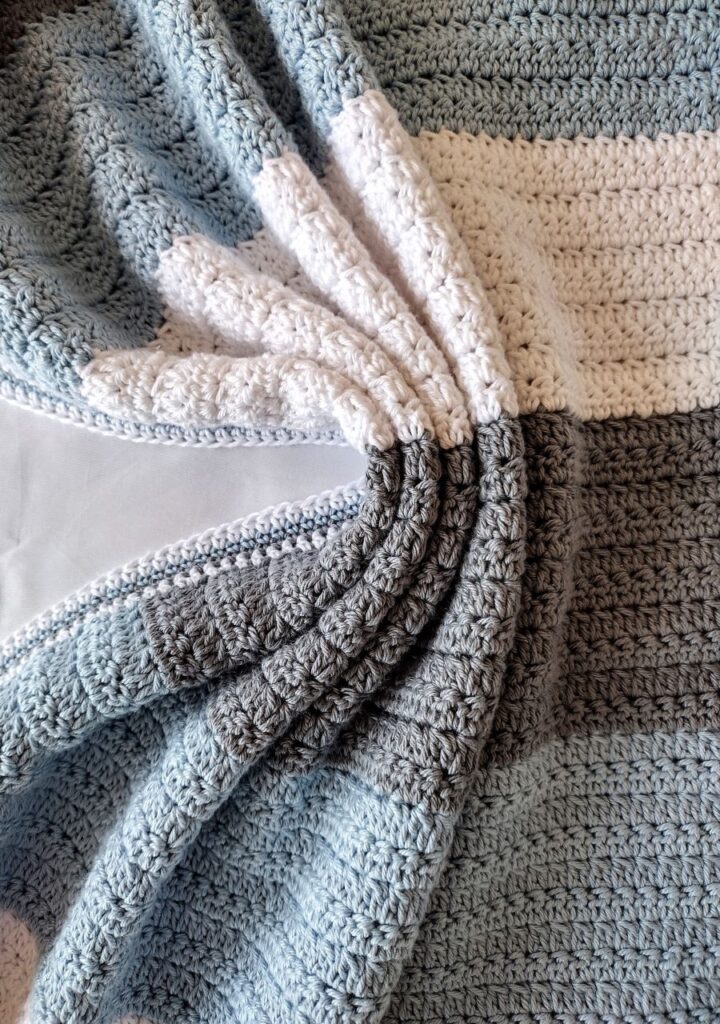
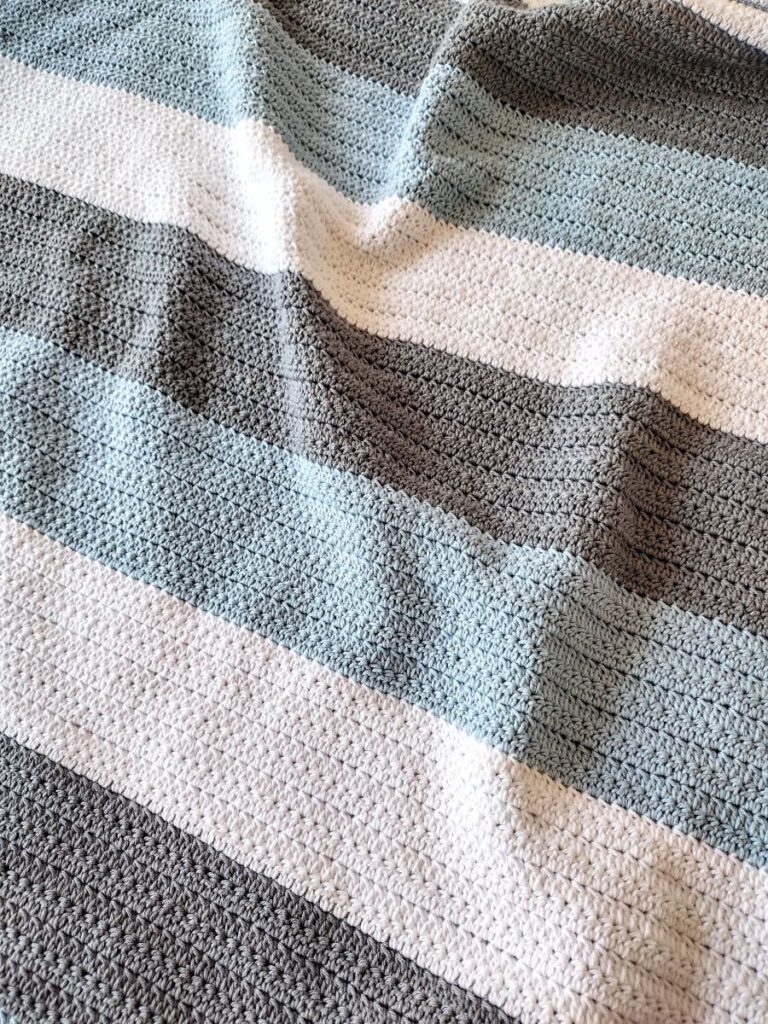
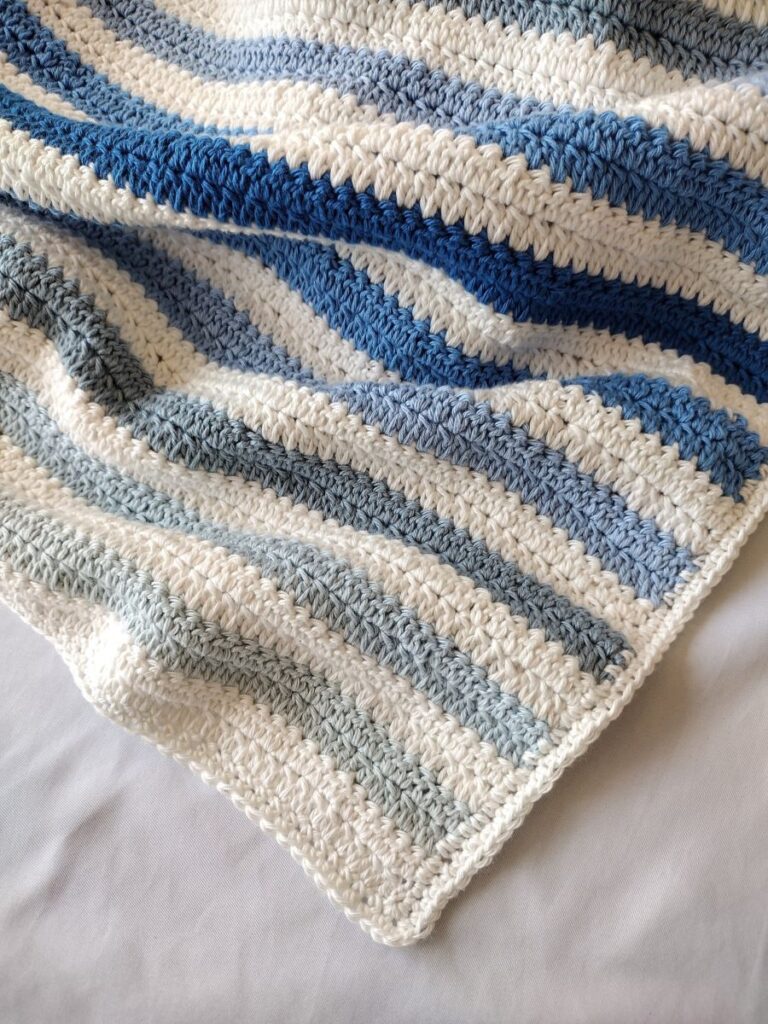
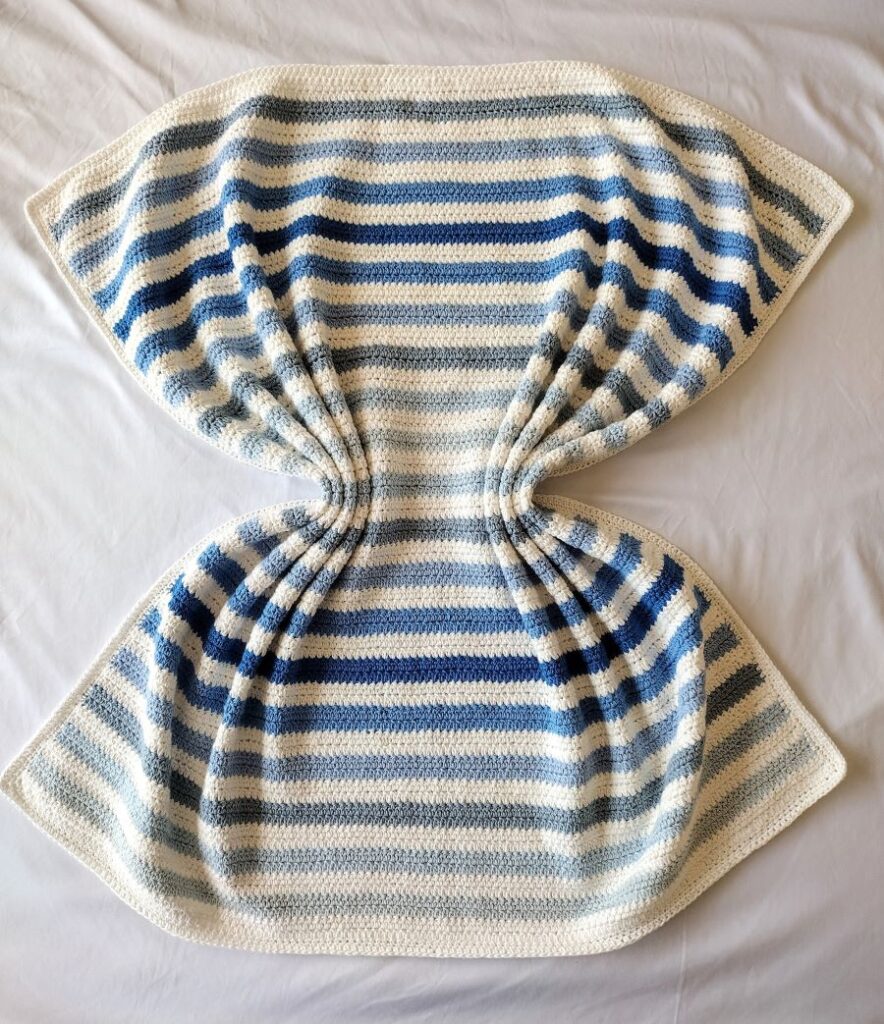
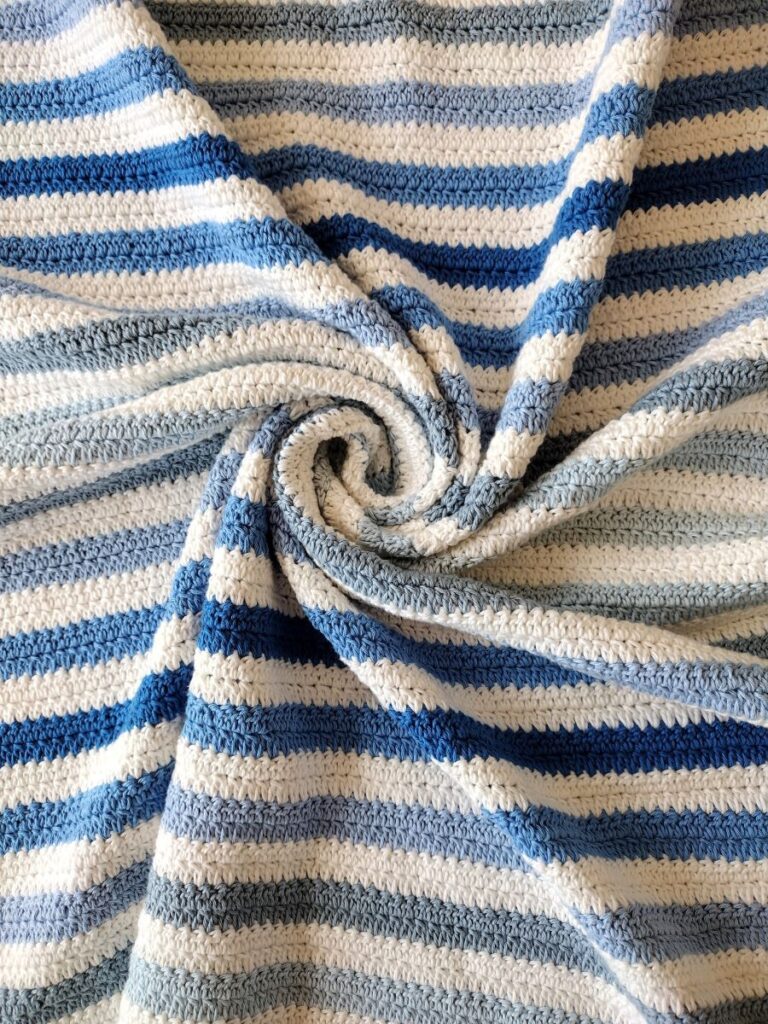
The Avery Baby Blanket is a beautiful crochet blanket using a stitch that creates a solid and warm fabric. The pattern is mainly made up of one stitch from beginning to end. This blanket was made with Rainbow Bamboo yarn by Hobbii in the colors White (#1), Cool Gray (#5), and Sky Blue (#13) with a 3.0 mm hook. If you’re using a different size yarn, adjust the hook size according to the yarn and follow the instructions to create a blanket for your desired length and width.
FINISHED SIZE
Approx. 35″L x 35″W unblocked
GAUGE
20 double crochet stitches across and 11 rows = 4″
MATERIALS
2.5 skeins of Rainbow Bamboo Yarn in White (or 683 yards of #3 weight yarn)
2.5 skeins of Rainbow Bamboo Yarn in Cool Gray (or 683 yards of #3 weight yarn)
2.5 skeins of Rainbow Bamboo Yarn in Sky Blue (or 683 yards of #3 weight yarn)
Scissors
4 mm
Yarn Needle
Tape Measure
ABBREVIATIONS (US TERMS)
sc = single crochet
ssc = stacked single crochet
hdc = half double crochet
dc = double crochet
dc2tog = double crochet 2 together
slp st(s) = slip stitch / stitches
st/sts = stitch/stitches
ch = chain
yo = yarnover
To do the dc2tog stitch:
Yo, insert your hook into the indicated stitch, yo, pull up a loop (3 loops on your hook)
Yo, pull through 2 loops (2 loops on your hook)
Yo, insert your hook into the next stitch, yo, pull up a loop (4 loops on your hook)
Yo, pull through 2 loops.

Yo, pull through remaining 3 loops.

PATTERN TIPS
*Chain your starting chain loosely. If it still seems tight, use one hook size larger for the starting chain.
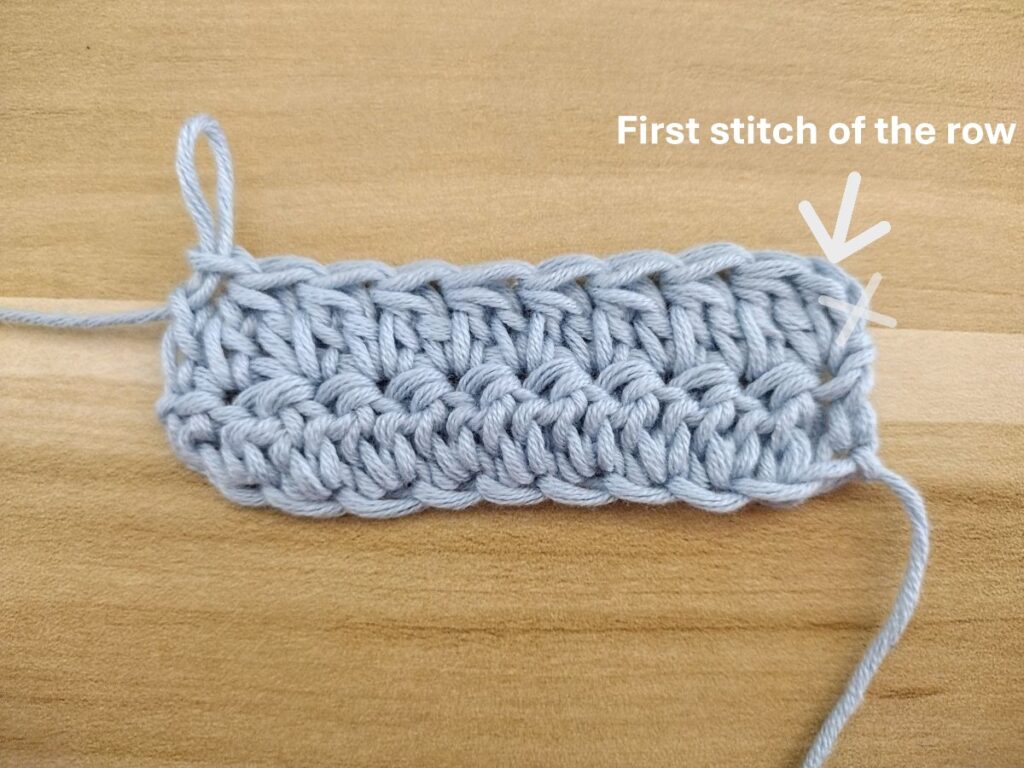
*Be careful when counting stitches. The arrow marks the first stitch of the row. It may be helpful to use a stitch marker to mark the first and last stitches of each row.
BLANKET PATTERN
With the 4 mm hook, loosely ch 134 (or any number)
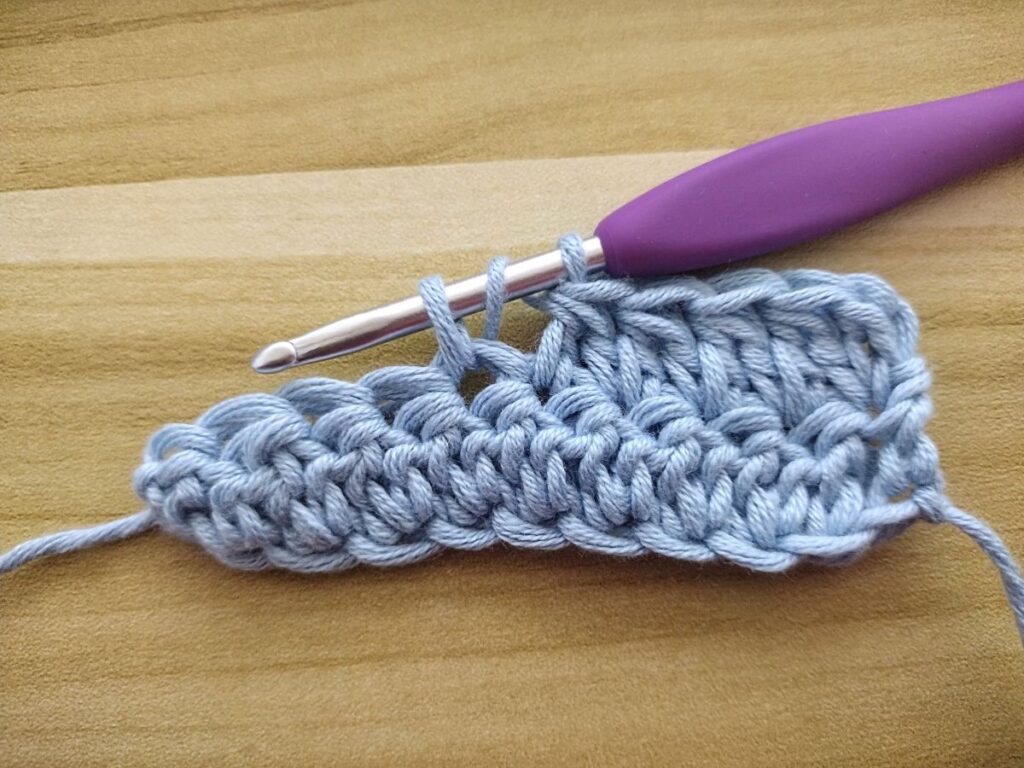
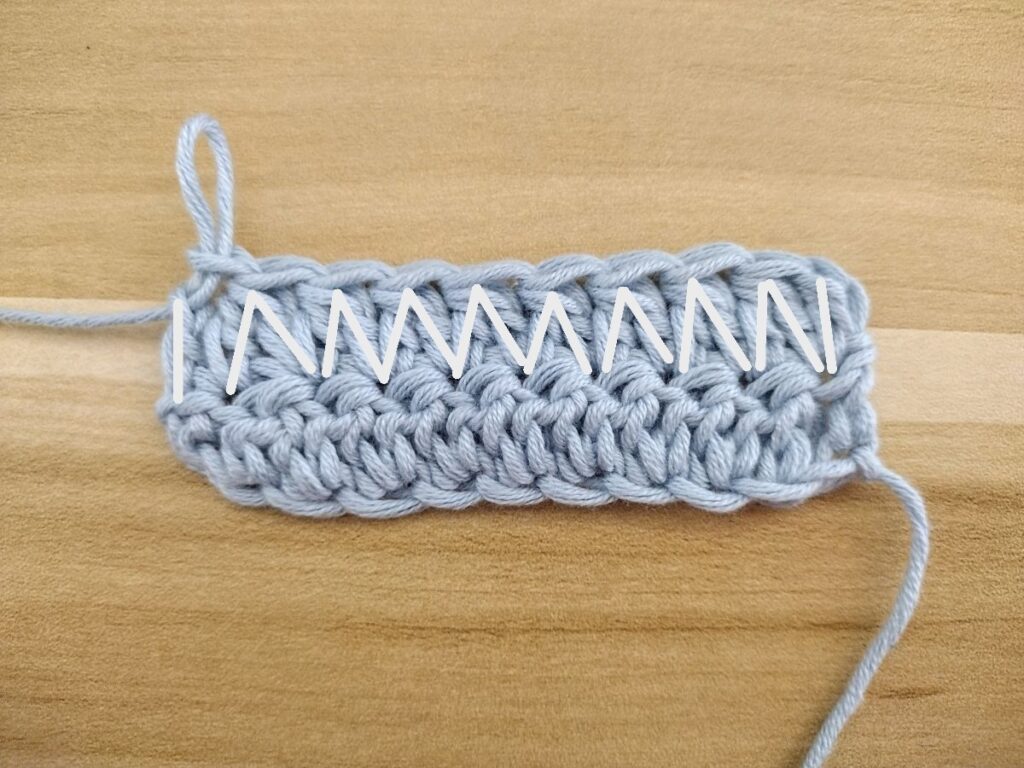
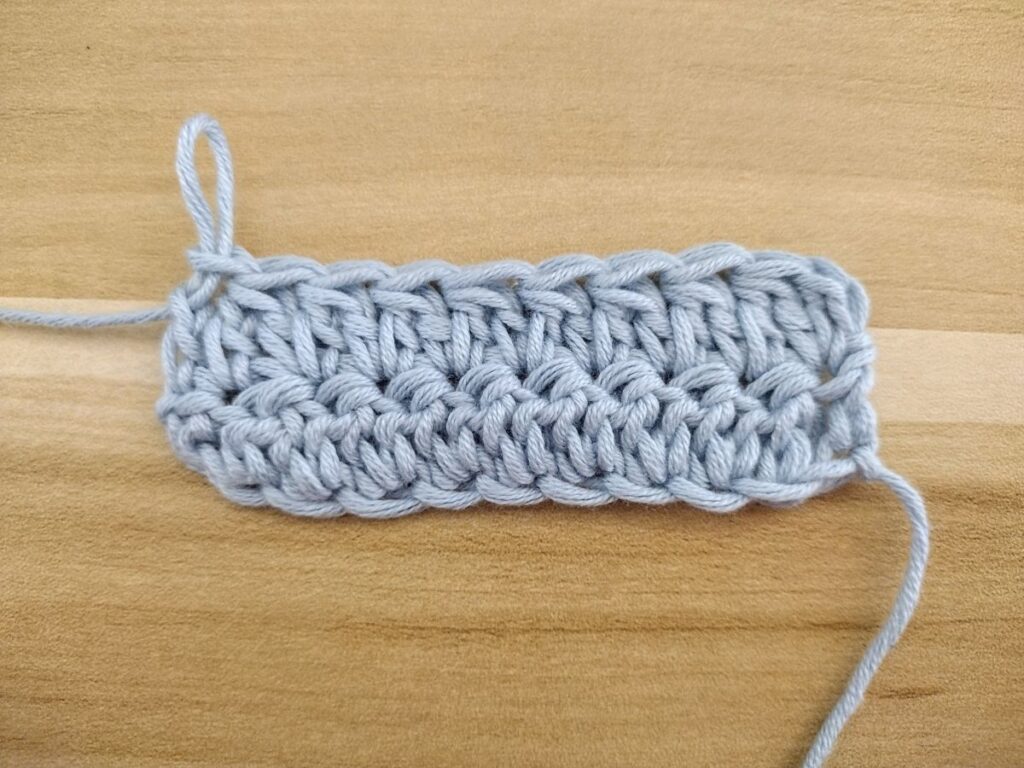
Row 1: Ssc in the 1st st, dc2tog starting in the same st as the 1st st and ending in the 2nd st, *dc2tog in the 2nd st ending in the 3rd st*, repeat from * to * until you have 1 st left (see photo 5). Dc in the last st, ch 1, turn.
Photo #1 – Ssc in the 1st st.
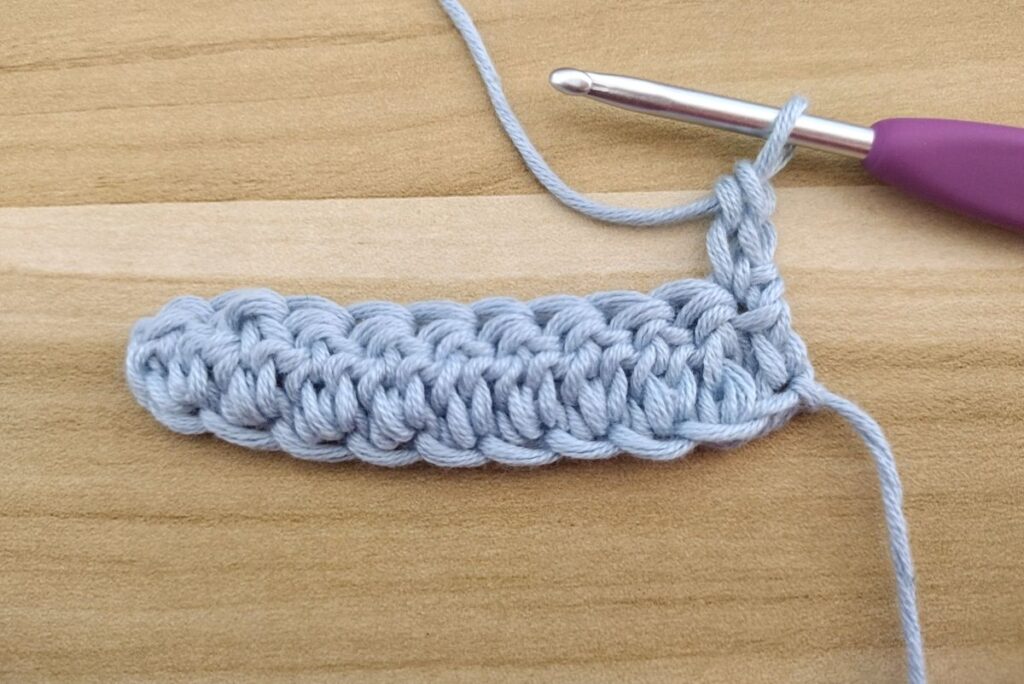
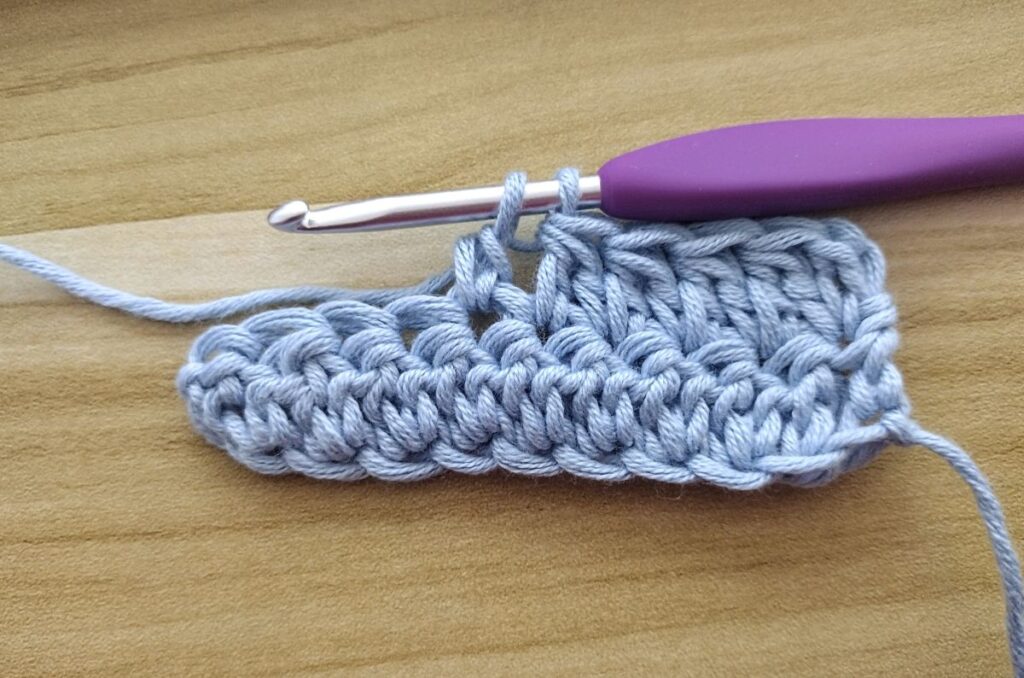
Photo #2 – Dc2tog in the same st as the 1st st and ending in the 2nd st.
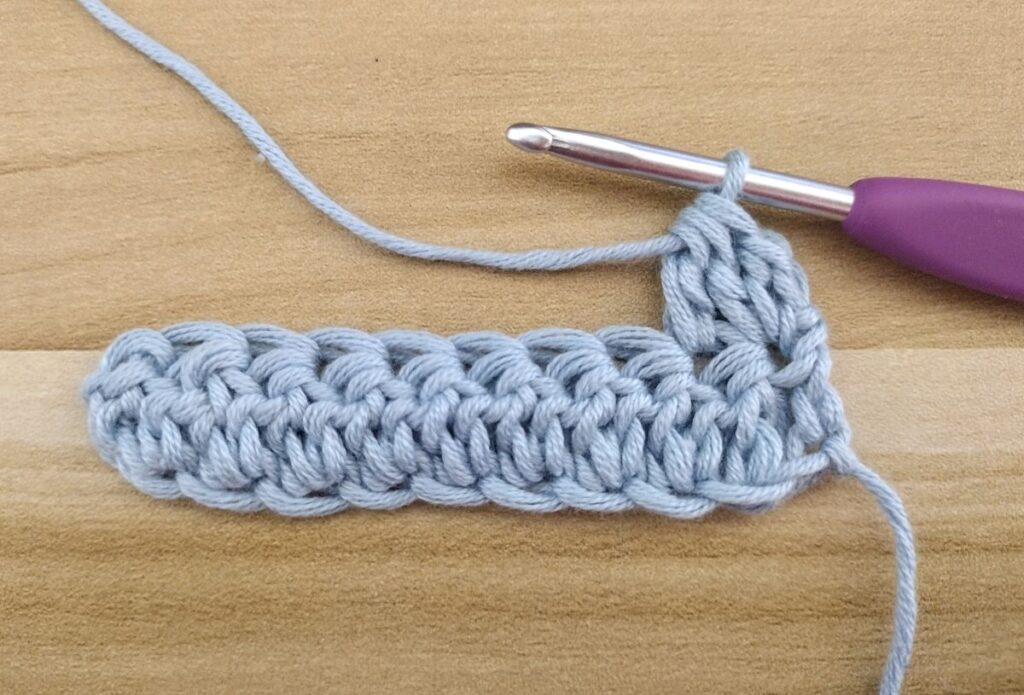
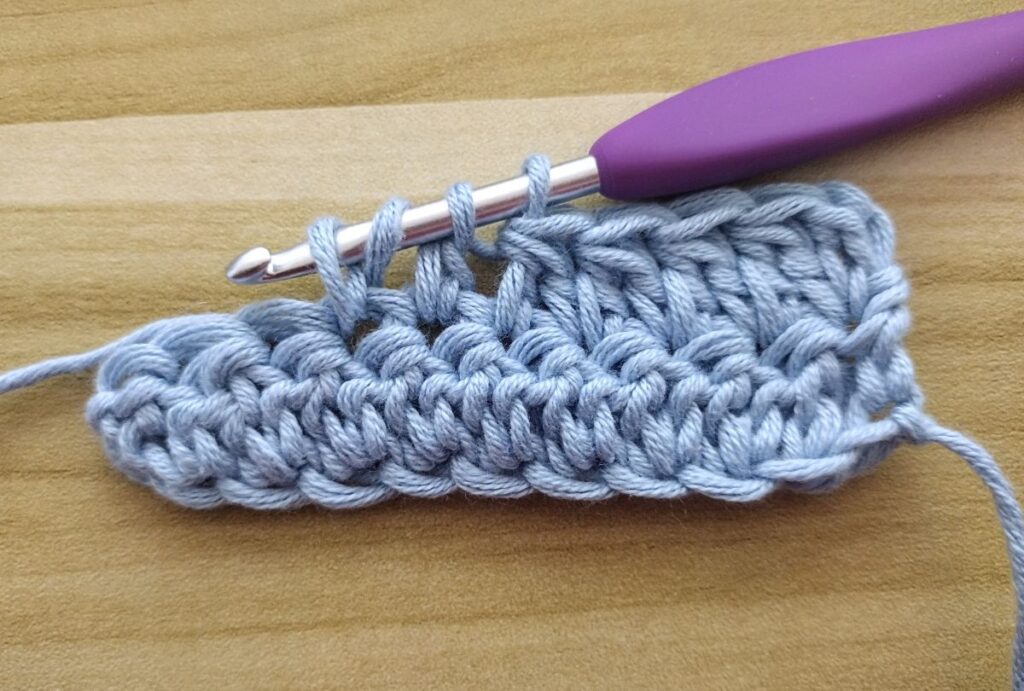
Photo #3 – Dc in the last st.
Row 2 until the end: Repeat row 1 until you’ve reached your desired length, changing color every 10 rows (or where-ever you’d like to change color).
Fasten off, weave in the ends.
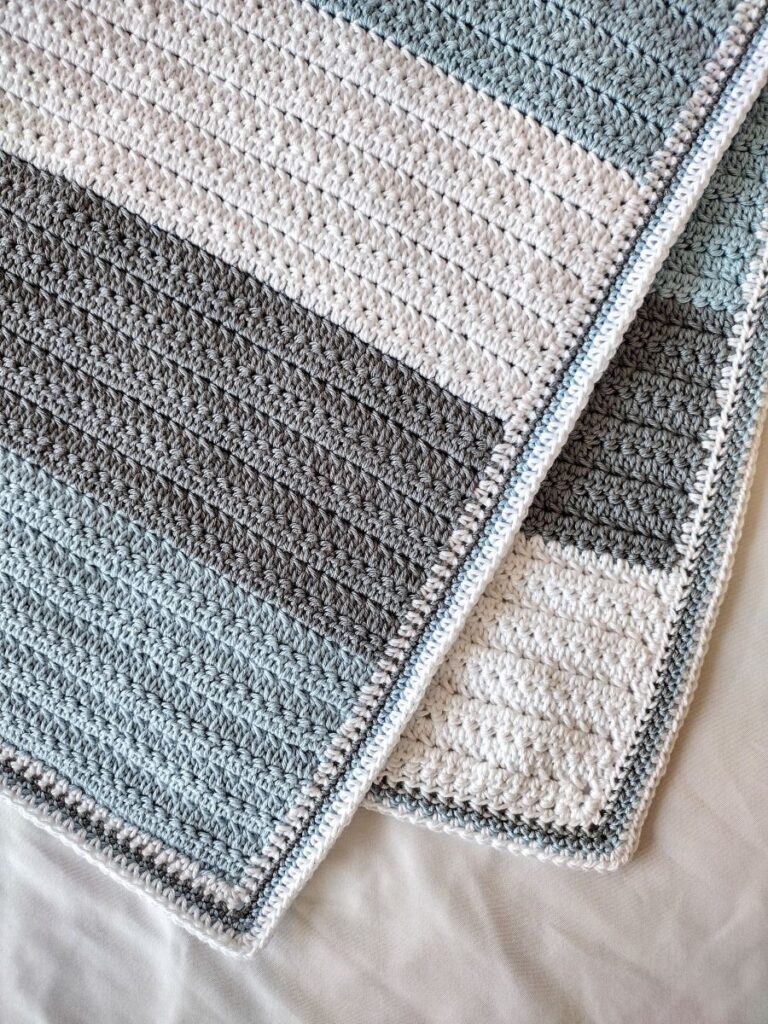
BORDER PATTERN
Round 1: With the 1st color, join to any st, hdc in each st around placing 3 hdc in each corner. For the sides, place 2 hdc for each row. End with a slp st to the first st. Fasten off, weave in the end.
Round 2: With the 2nd color, join to any st and sc in ea st around placing 2 sc in each corner. End with slp st to the first st. Fasten off and weave in the end.
Round 3: Repeat round 2 with the 3rd color.
Round 4: Repeat round 1 with the 1st color.
For an ad free pdf copy, click here.
This blanket has color changes every 2 rows.
For more baby blanket patterns, click here.