
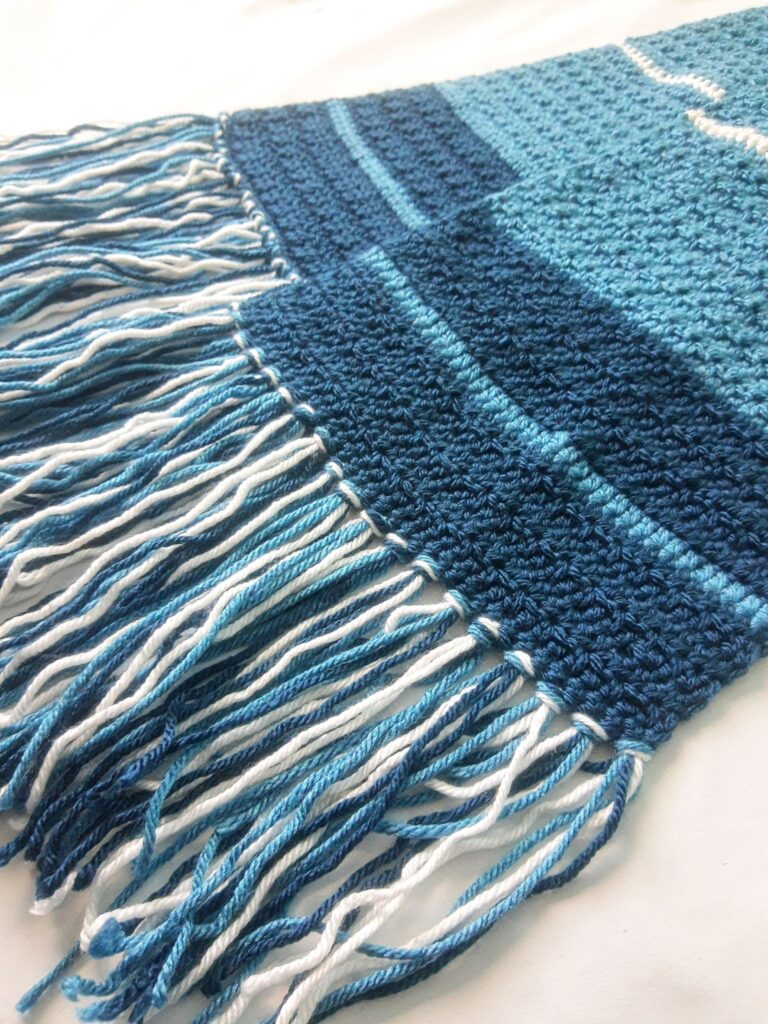
One of the best ways to complete a scarf is to add fringe. Follow this tutorial to learn how to add fringe to a scarf.
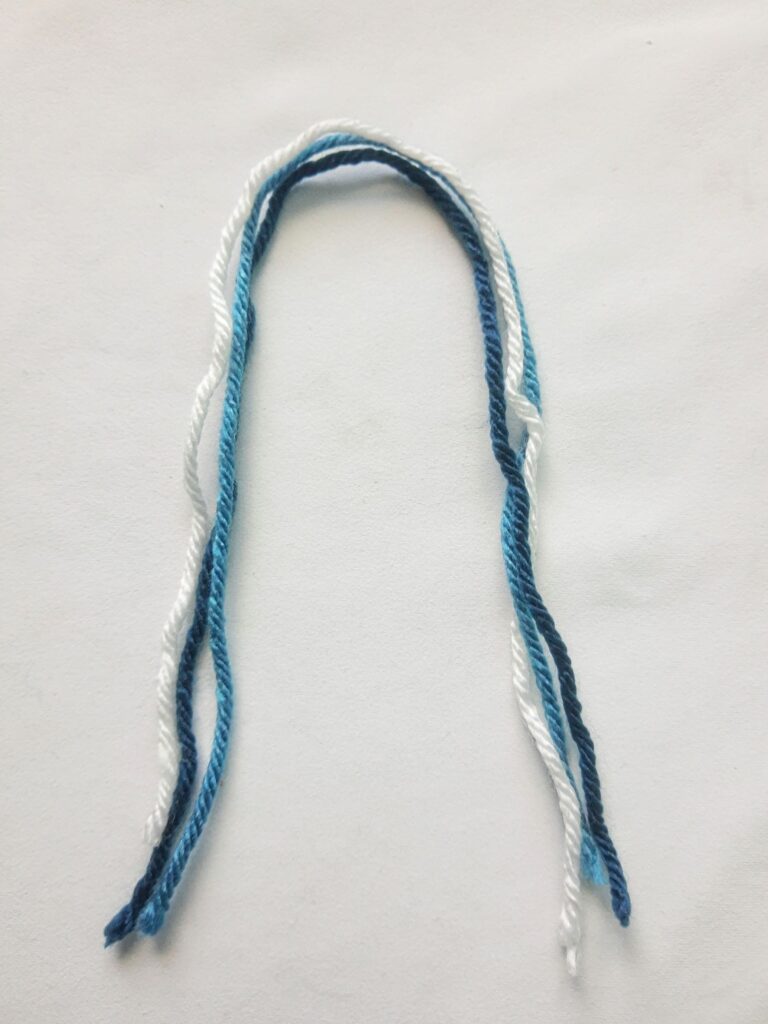
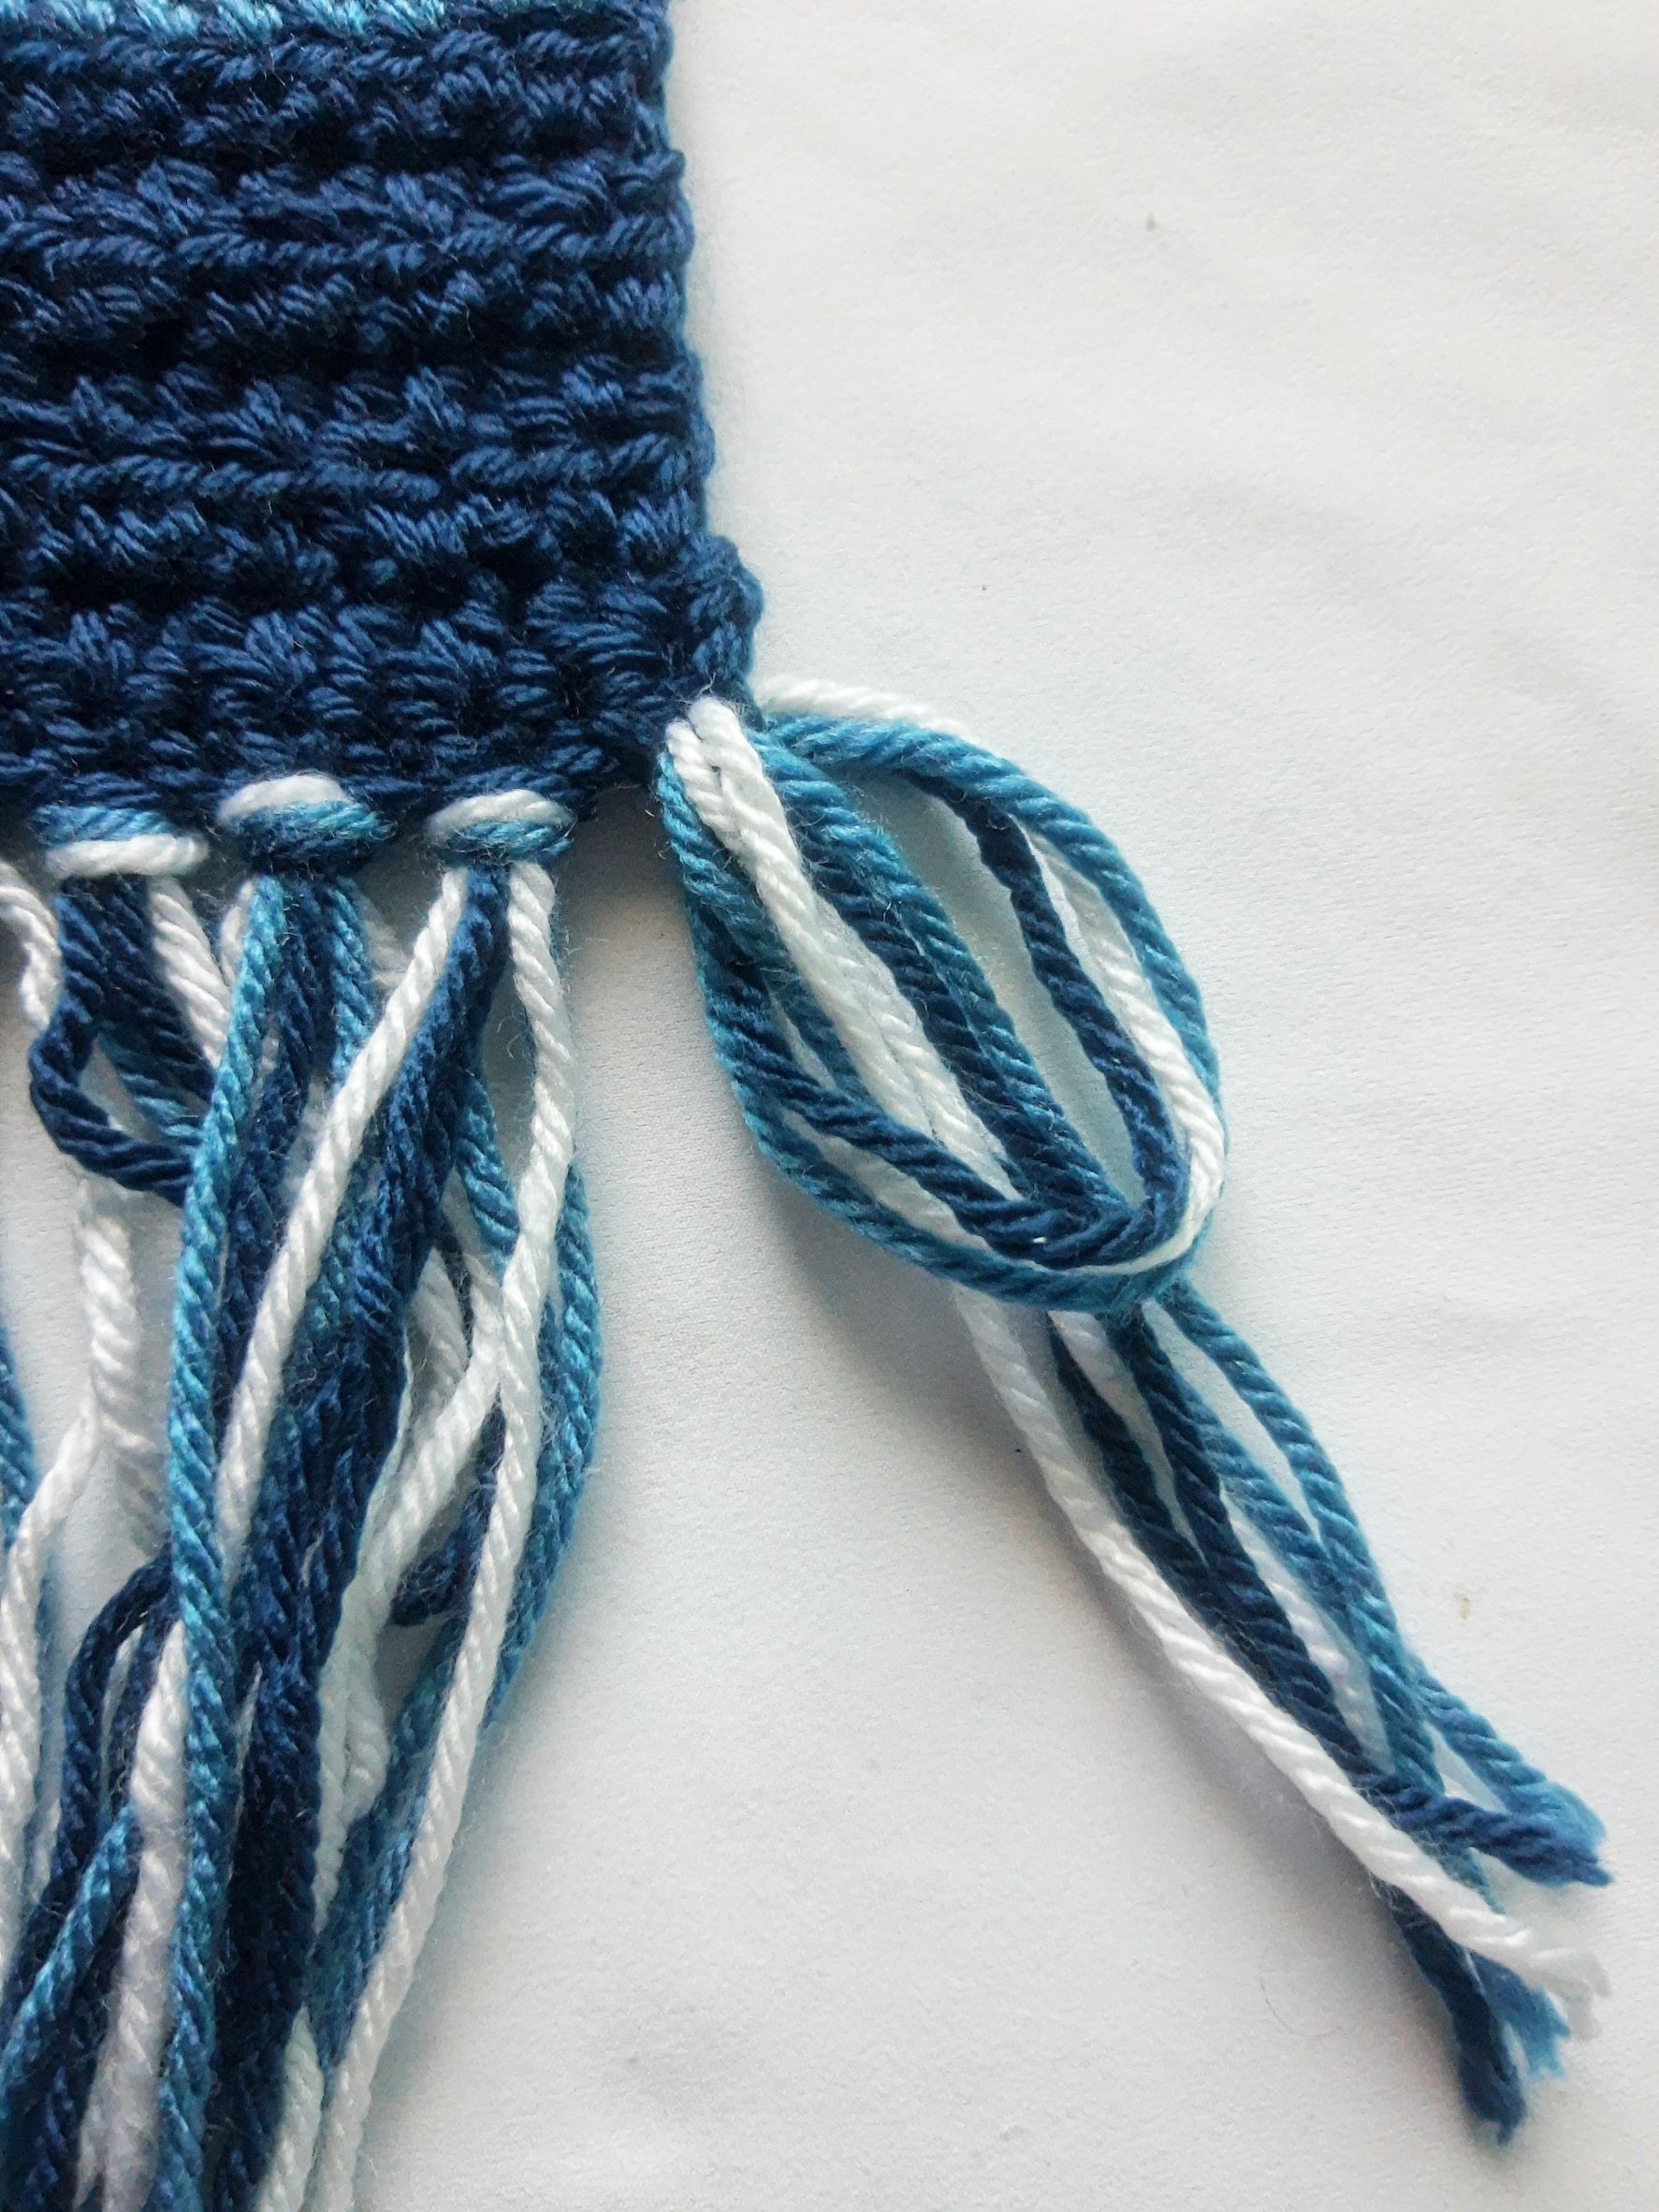
First, decide what length you want the fringe to be (I usually do 5 to 6 inches). Double the desired length and add 1 inch, then cut the individual strands to that length. For example, to make 6 inch fringe, cut strands that are 13 inches long (6 x 2 +1). This is because the yarn will be folded in half. The extra inch is to allow for the loop at the top where the yarn attaches to the scarf. I usually cut 3 pieces, and the add them to the first and last stitch, and then the stitches in between, skipping every other stitch. You may also choose to use less strands and add to every stitch depending on the look you want.
Starting with the first stitch, use your hook to pull the yarn through the stitch forming a loop.
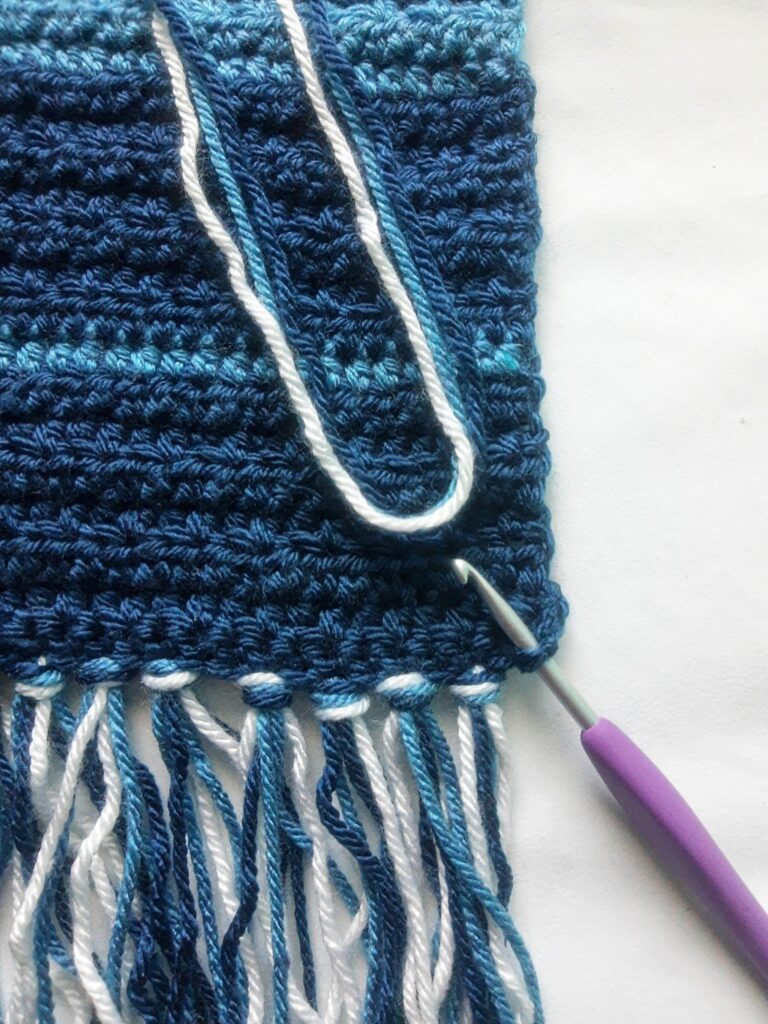
Use your fingers to pull all the strands of the yarn tail through all the strands of the loop. Pull the tail to tighten the loop. Go the last stitch, and follow the same steps. Then, add fringe to the rest of the stitches, leaving one stitch in between the fringes (so skip every other stitch).
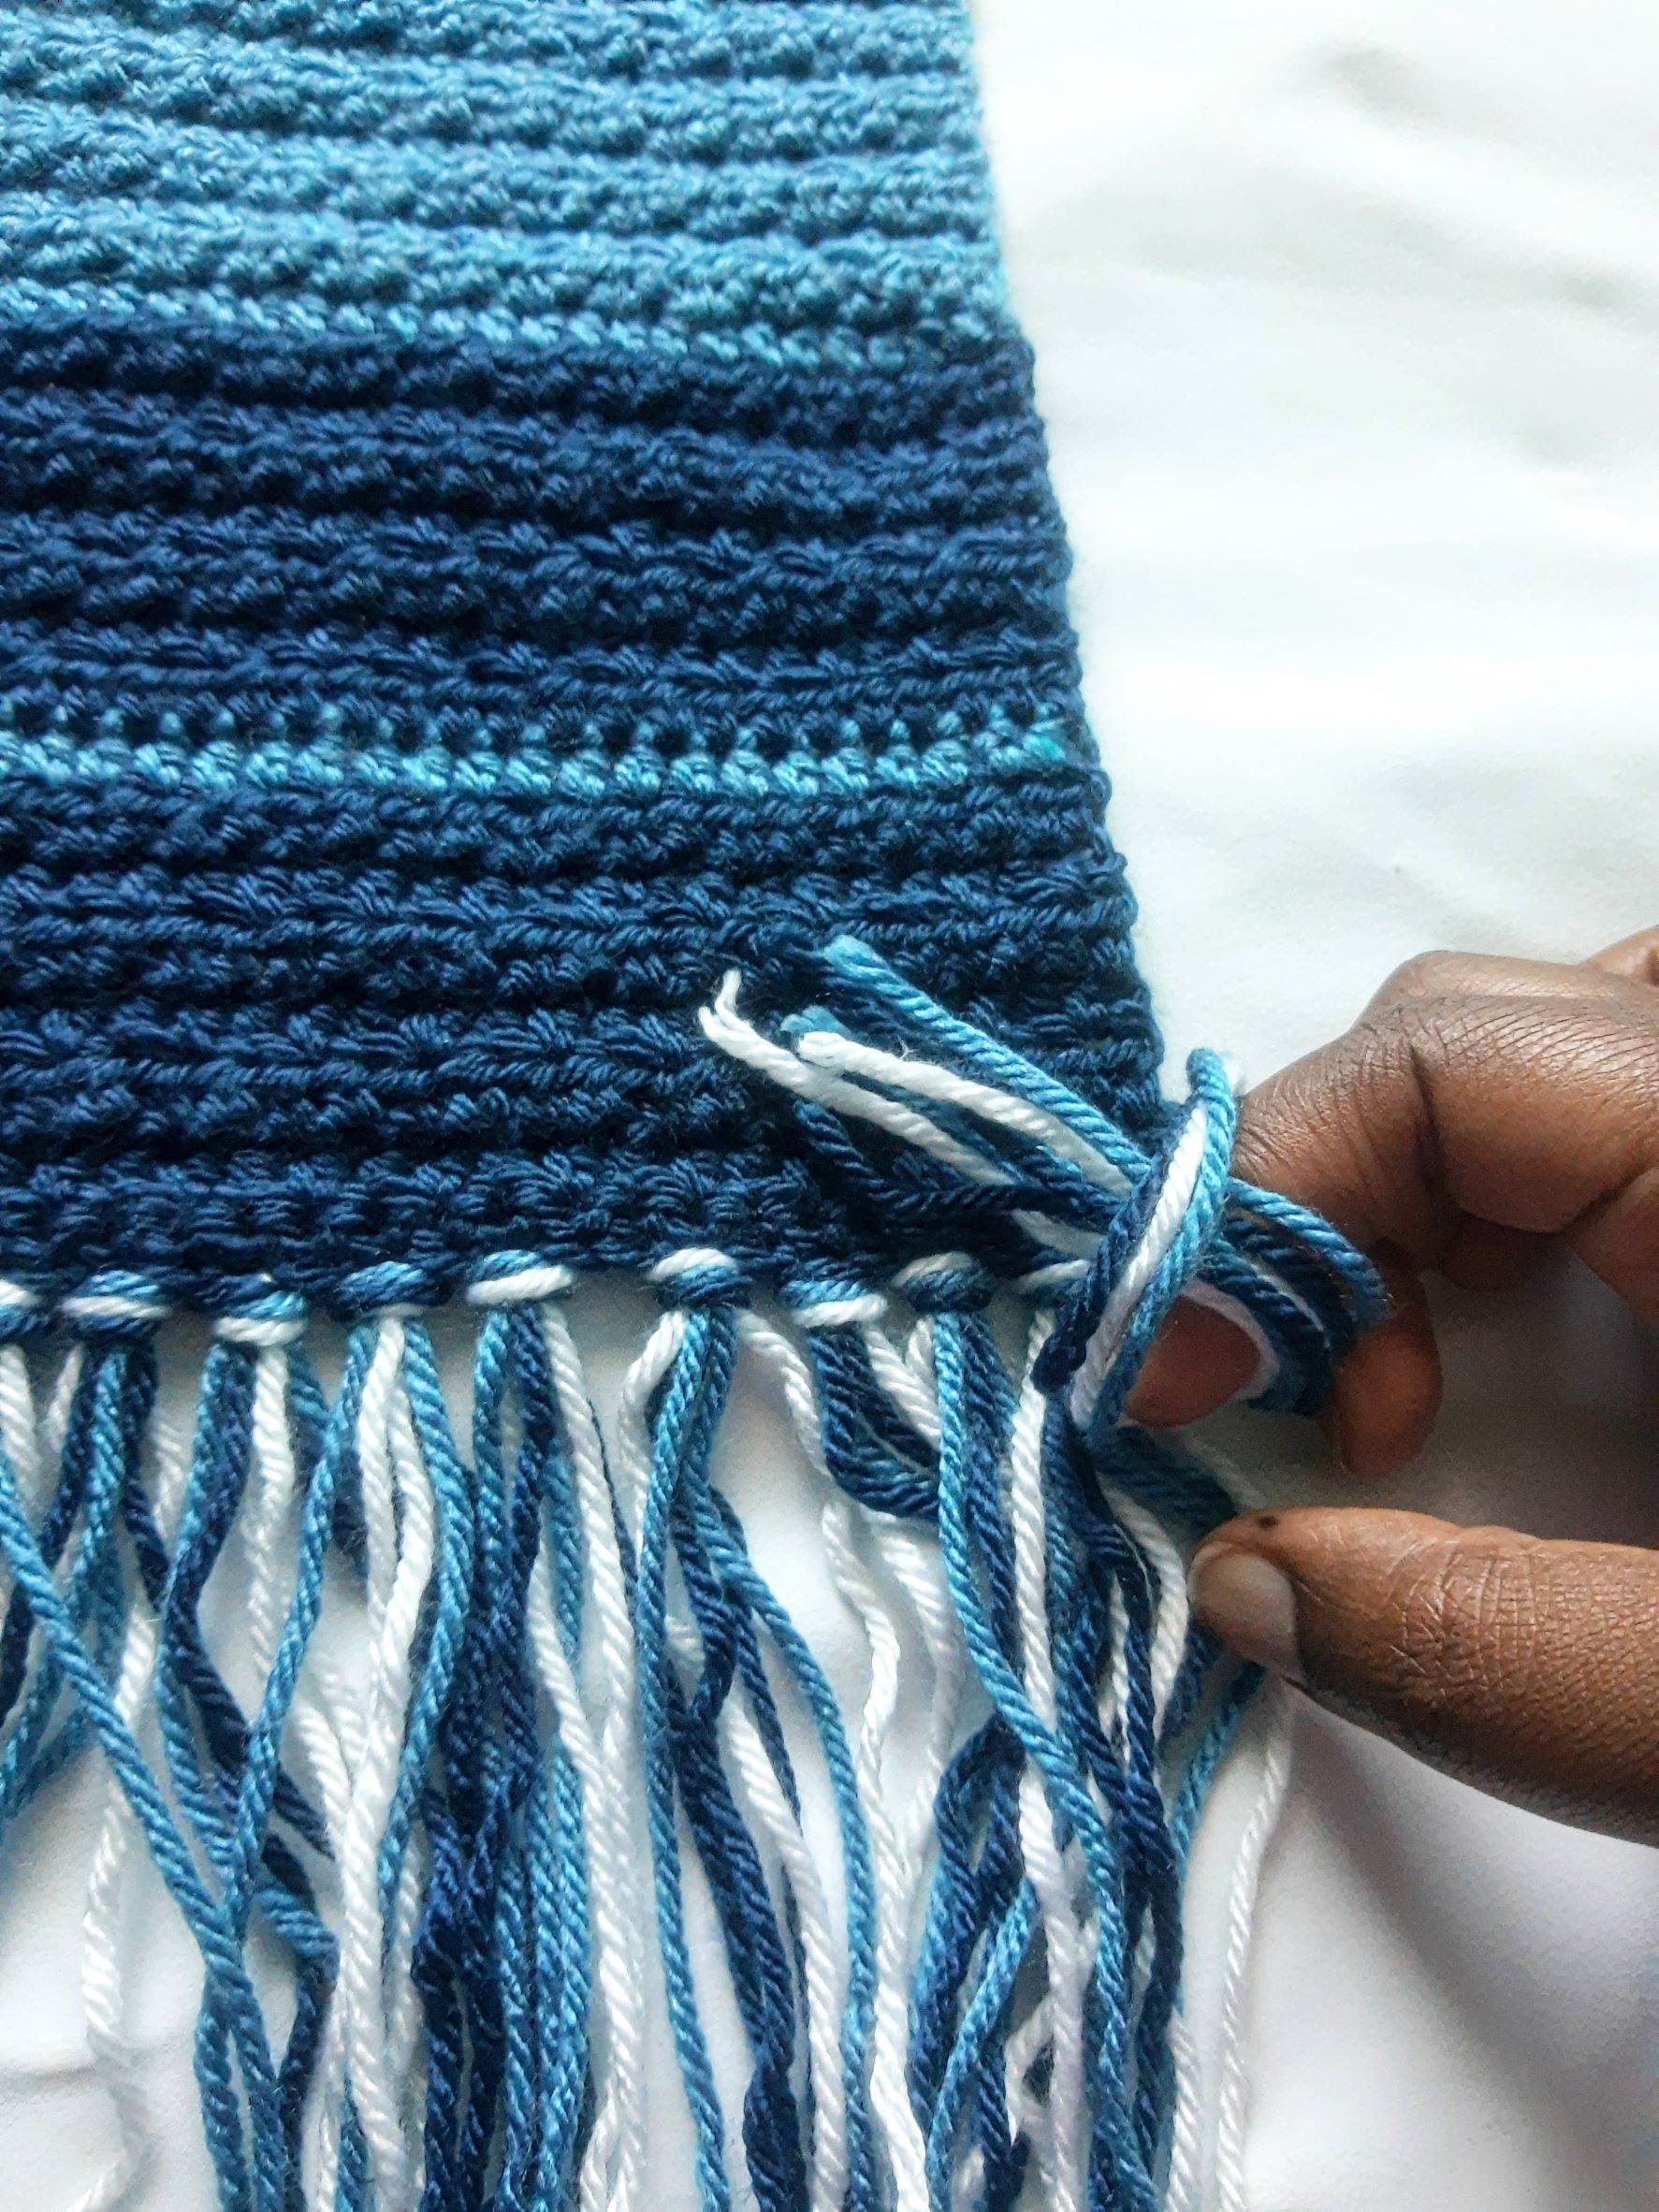
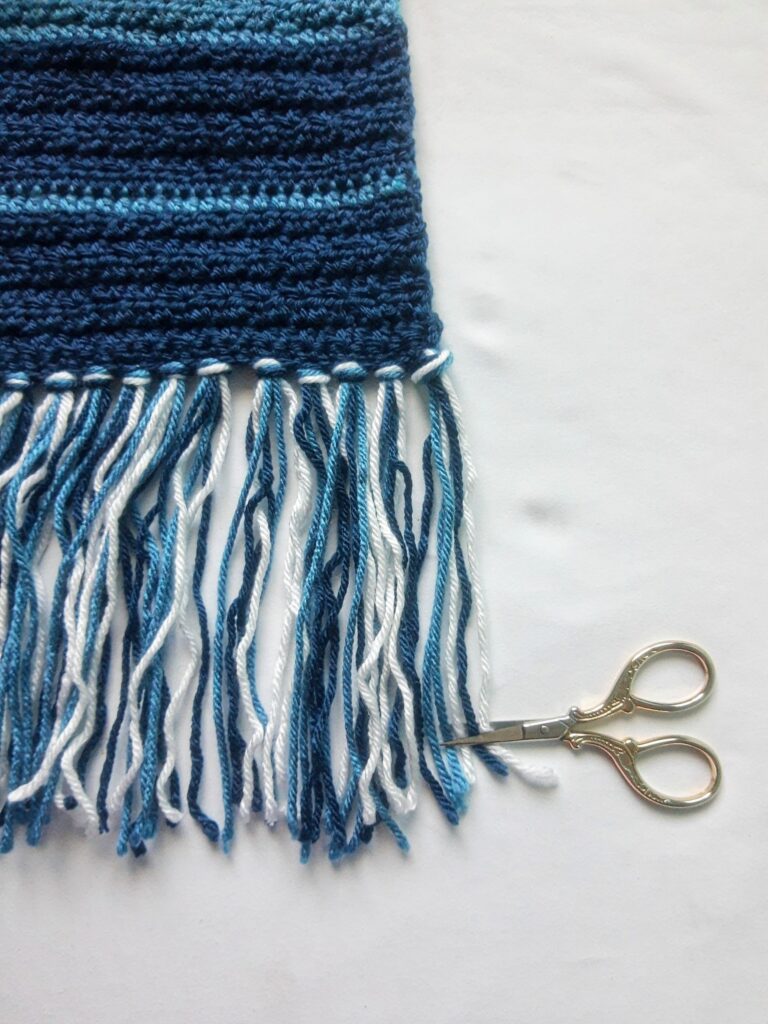
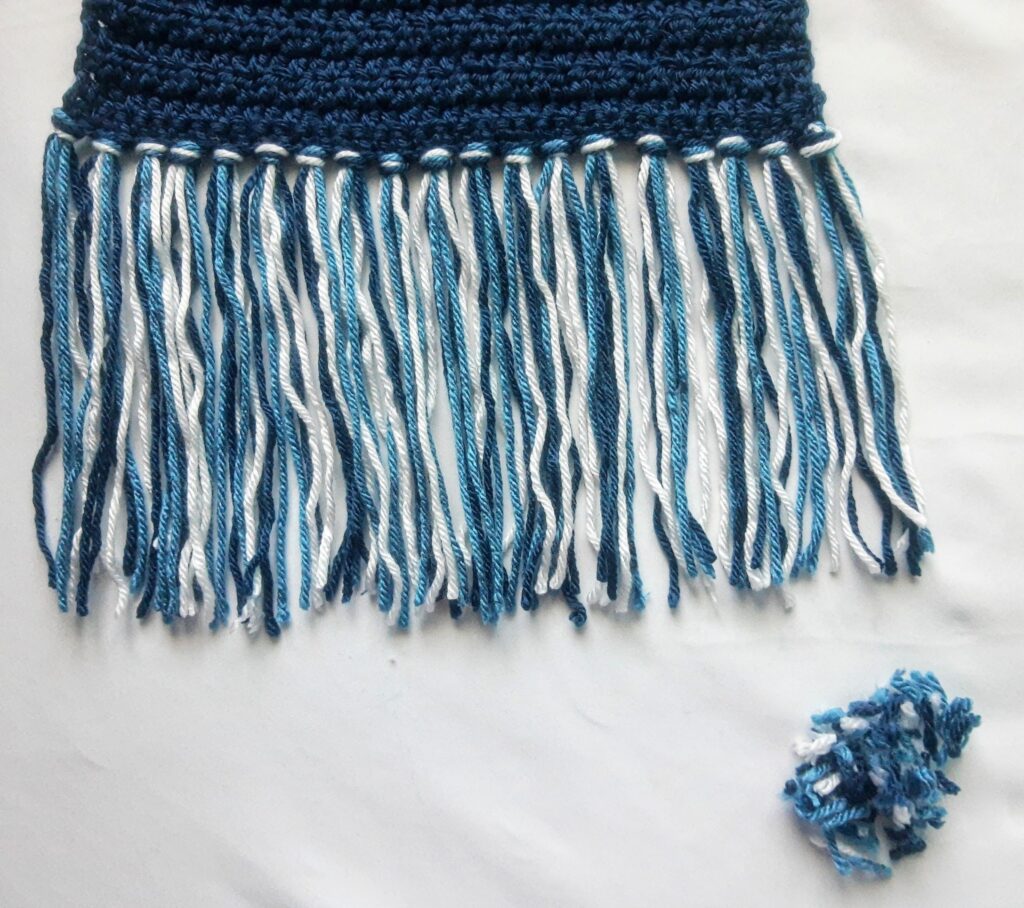
Optional: Trim all the ends so that they are the same length.
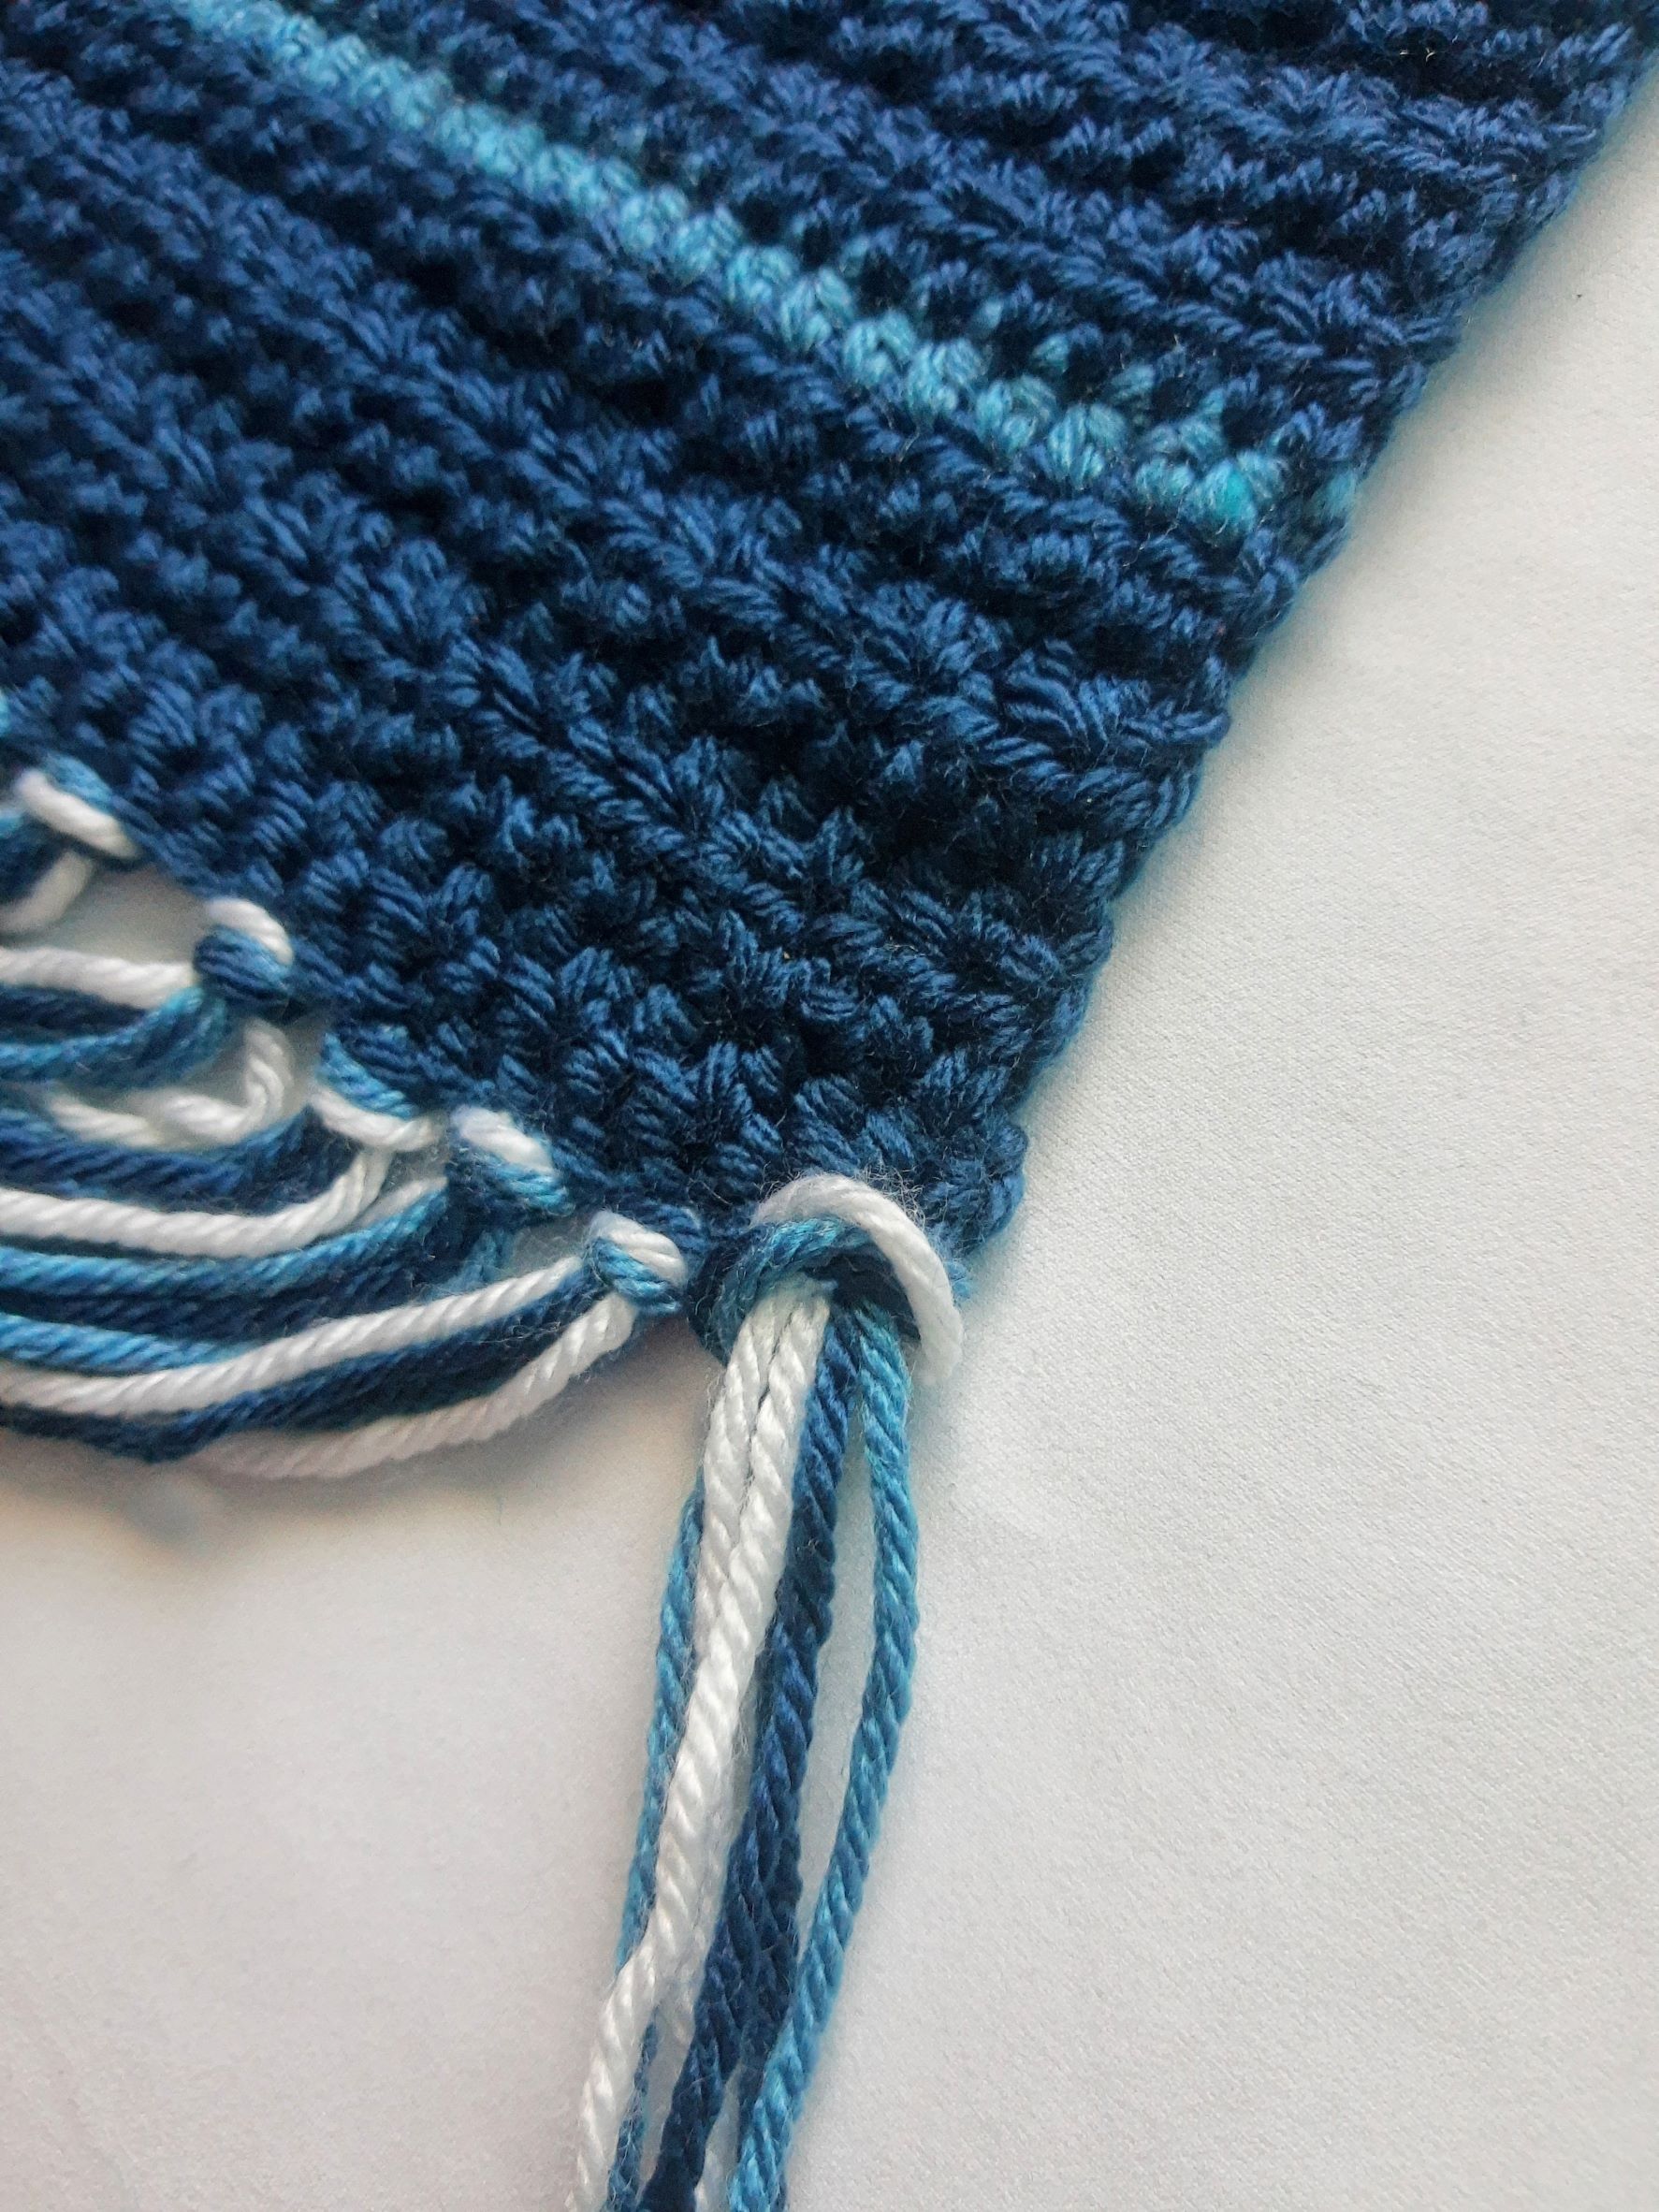
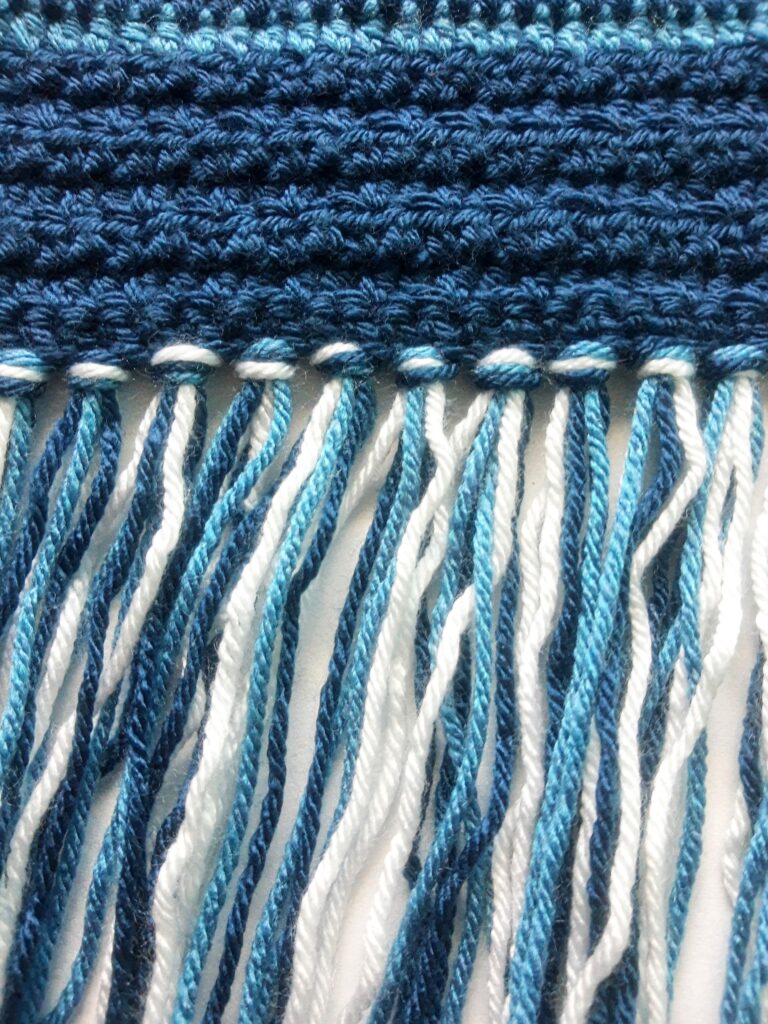
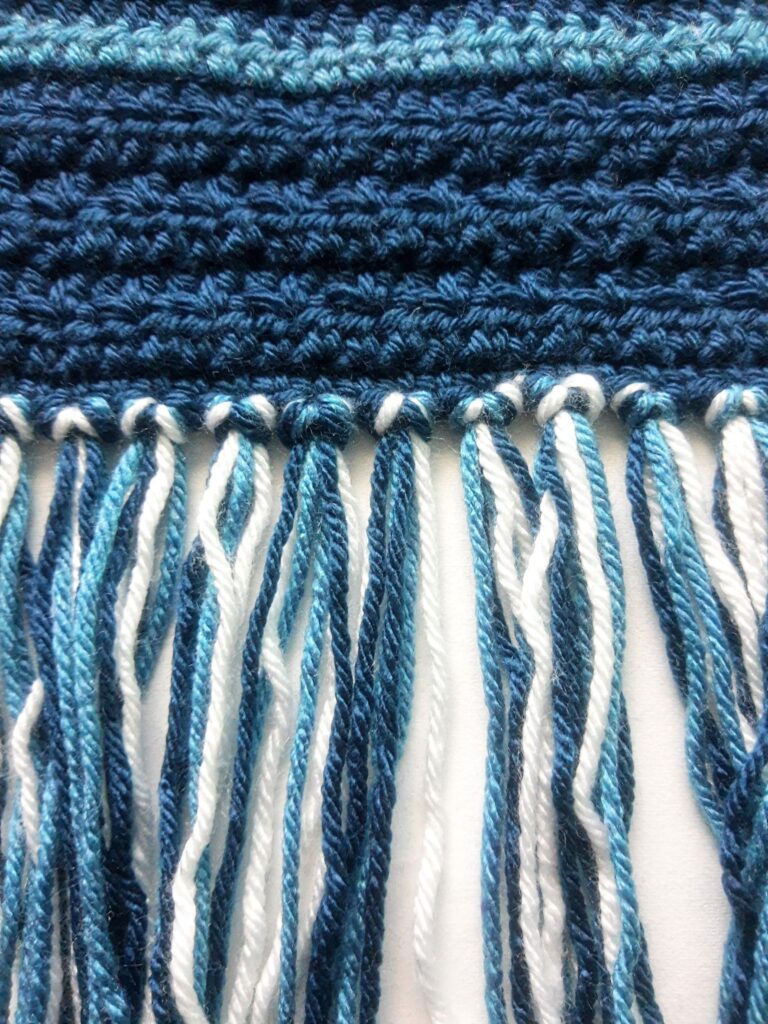
Make sure to add the fringe from the same side of the scarf because the loop at the top where it attaches to the scarf looks different in the front and the back. Here’s a side by side picture of what it looks like from the front and back.
For scarf and shawl patterns, click here.